Book Week 2023: Making T-Shirts With A Cricut
How are you celebrating Book Week this year? It’s become a bit of a tradition at my school to celebrate with themed Book Week t-shirts for the staff. This happened thanks to the enthusiasm, skills and energies of one of the amazing Junior School teachers. But you might have seen the suggestion on my Book Week 2023 Resources and Ideas list or maybe you’ve seen other schools do it. If you are not sure how to get started, how to download or use a pre-made design or maybe how to create your own design, I promise it is super easy. Here’s everything you need to know to get started making your own t-shirts for Book Week.
Materials
You’ll need a computer or device with Cricut Design Space software. It’s free to download and use. You do not need the Cricut Access subscription to make these t-shirts.
A Cricut (or other cutting machine, like a Silhouette Cameo. I just know and use Cricuts, so the instructions here are all for a Cricut).
HTV – Heat transfer vinyl, also called Iron-on. You can buy Cricut brand, but I prefer to use Siser Easyweed, which I buy from Vinyl Loft.
Basic tools – Cricut mat, weeding tool or tweezers
T-shirt
Heat press or iron.
Heat press mat or folded towel and ironing board.

The Design
Downloading a Design
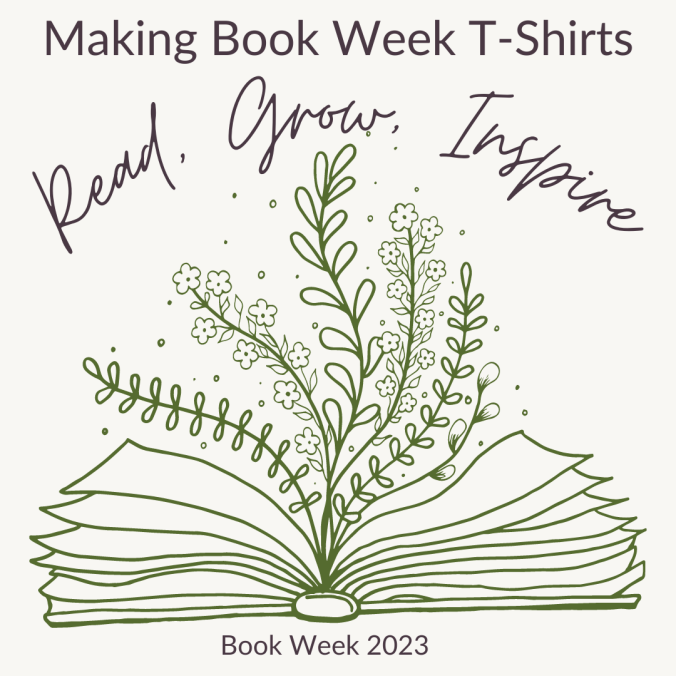
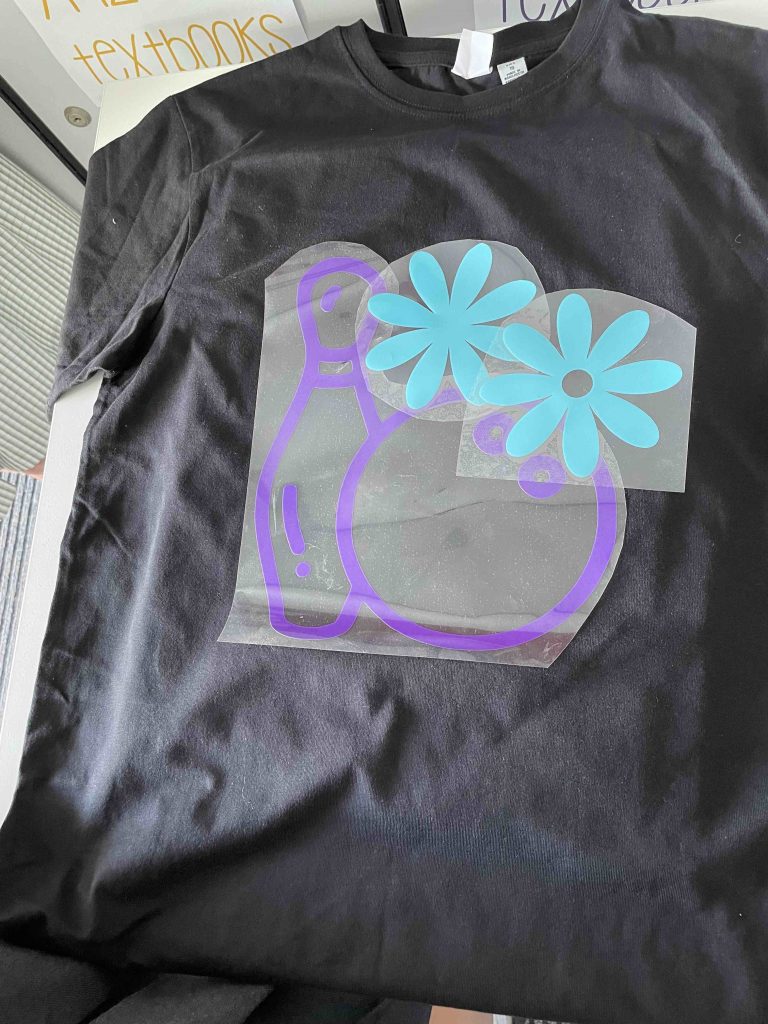
Start with your design and decide if you are going to design you own (I’ll show you how) or download one. You might like to have a go with my graphic here (I warn you, it’s a little fiddly.)
You can also purchase designs online. Check out this amazing design from the Ipswich District Teacher Librarian Network. This design is only $1.50, and you get it free if you’ve purchased their Book Week book (which you totally should).

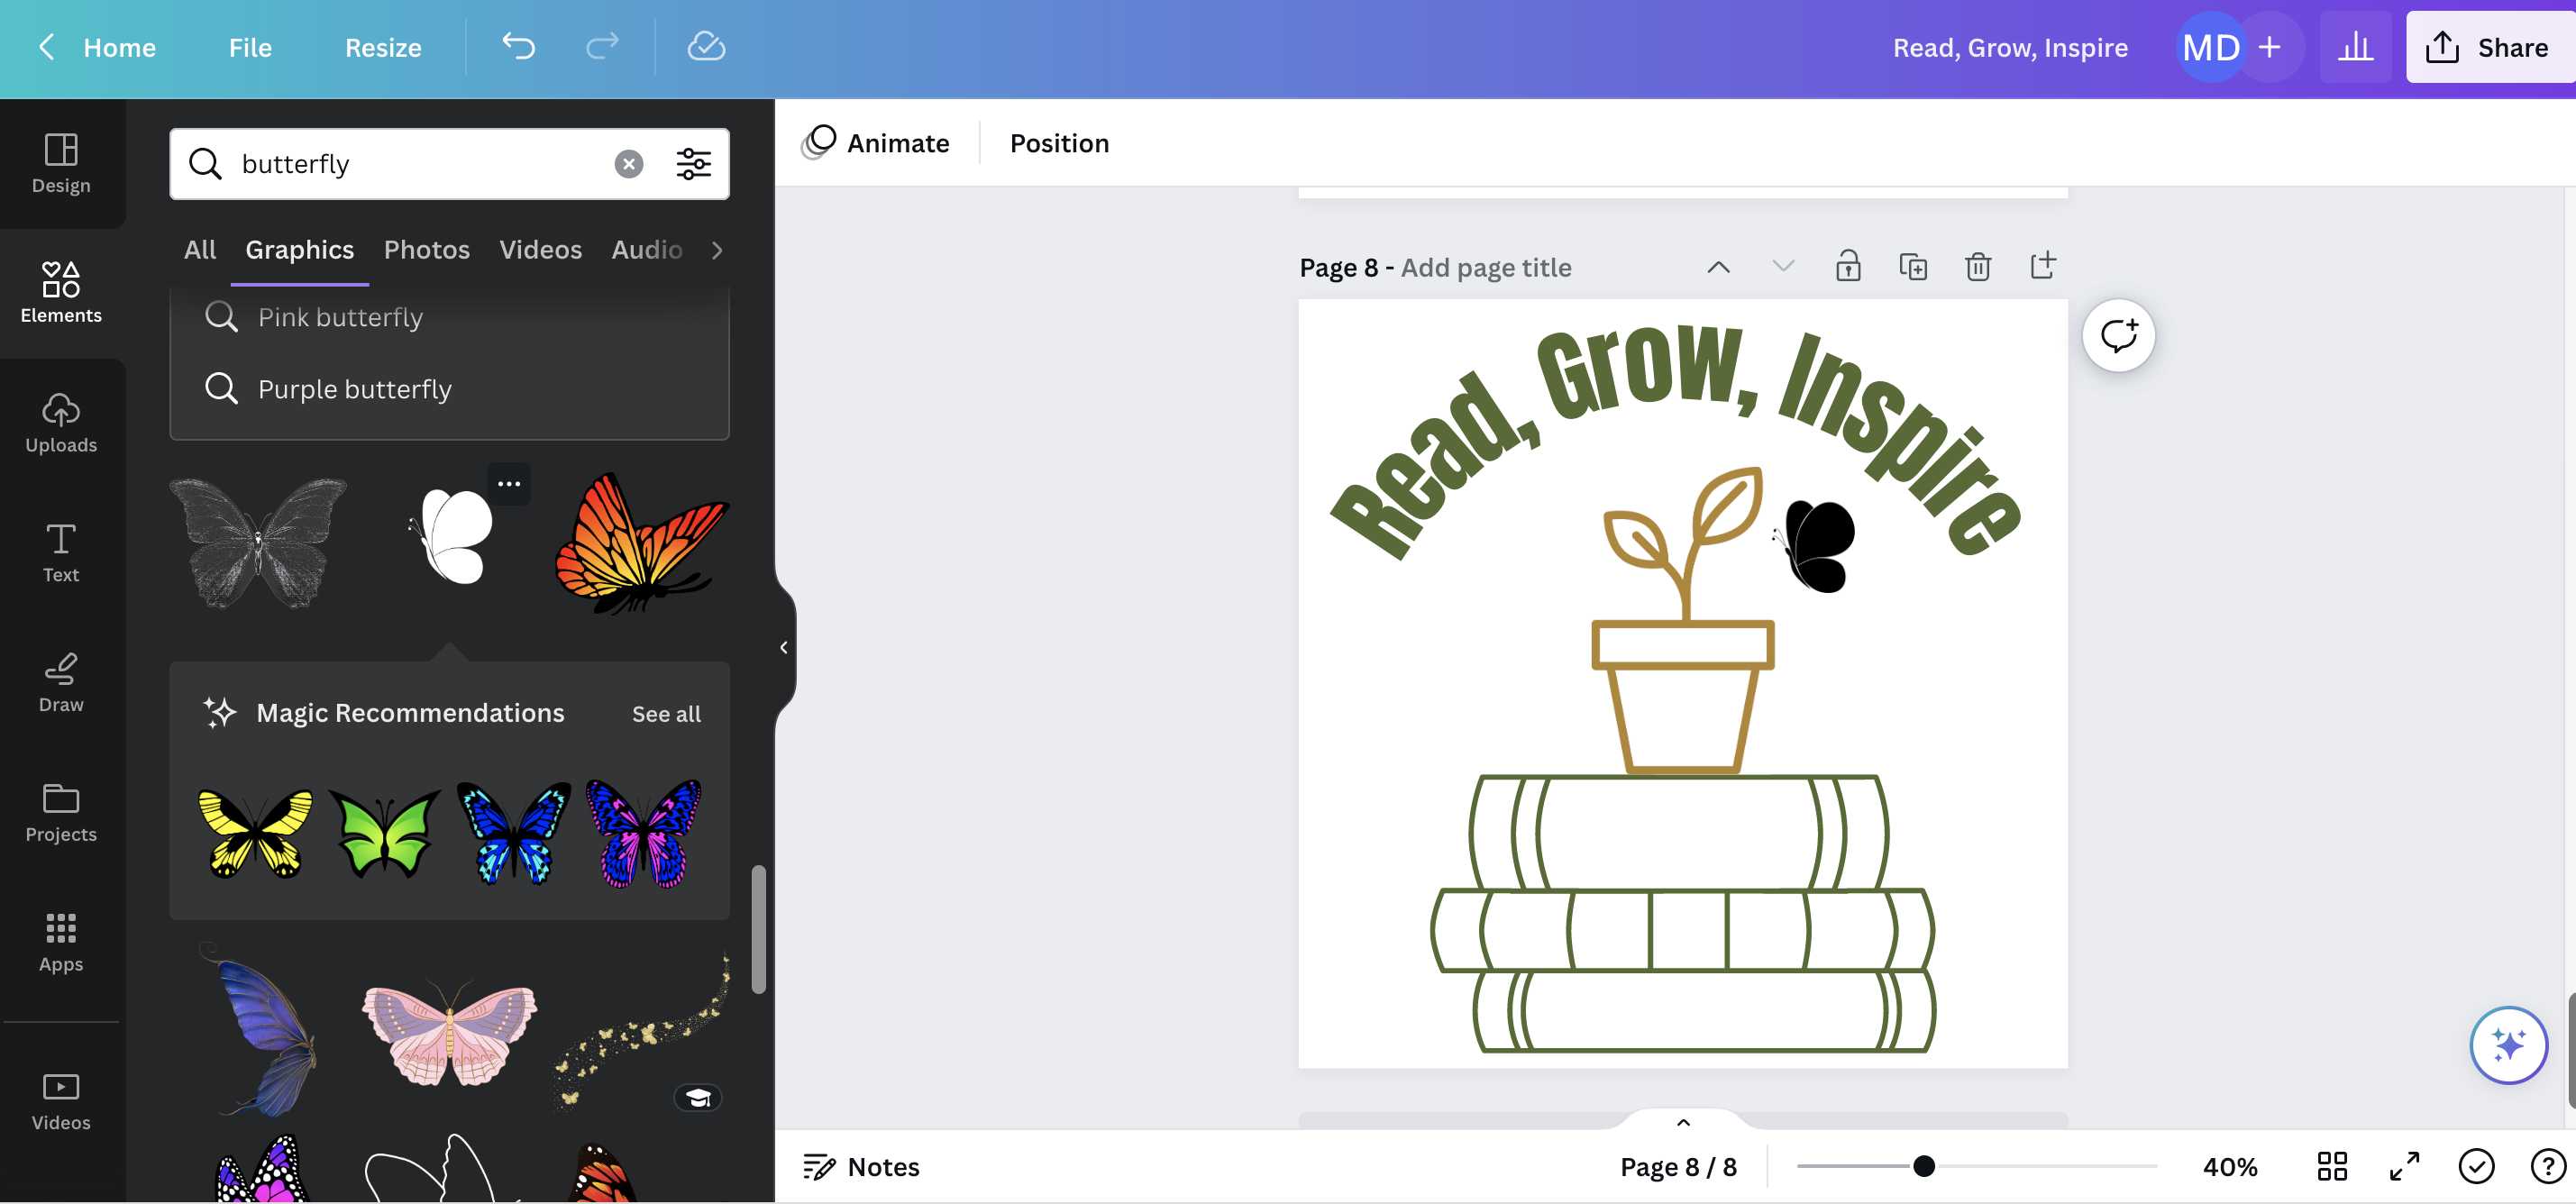
Making your Own Design
If you want to have a go at making your own design (and it’s super easy), then I highly recommend Canva. If you are new to Canva, start with my post about it here. Create a new project (I used an Instagram Square template, to give me a square to work within. Then add graphics and fonts to your design. I didn’t select the easiest fonts or designs to work with for my design above, as I wasn’t intending to use my graphic on t-shirts, that’s just been a result of sharing the graphic. I would select bold fonts, like I have in the example below, that will be easy for the machine to cut out. Same for graphics. Select items that have just one or two colours (not photos or full colour graphics) because you are cutting these from HTV, not printing them.
Once you are happy with your design, select Share > Download > SVG. Select transparent background and download.

Downloading a Design and Uploading into Cricut Design Space
Now you are at the same step as if you have downloaded a design online.
Open Cricut Design Space.
Create a new project.
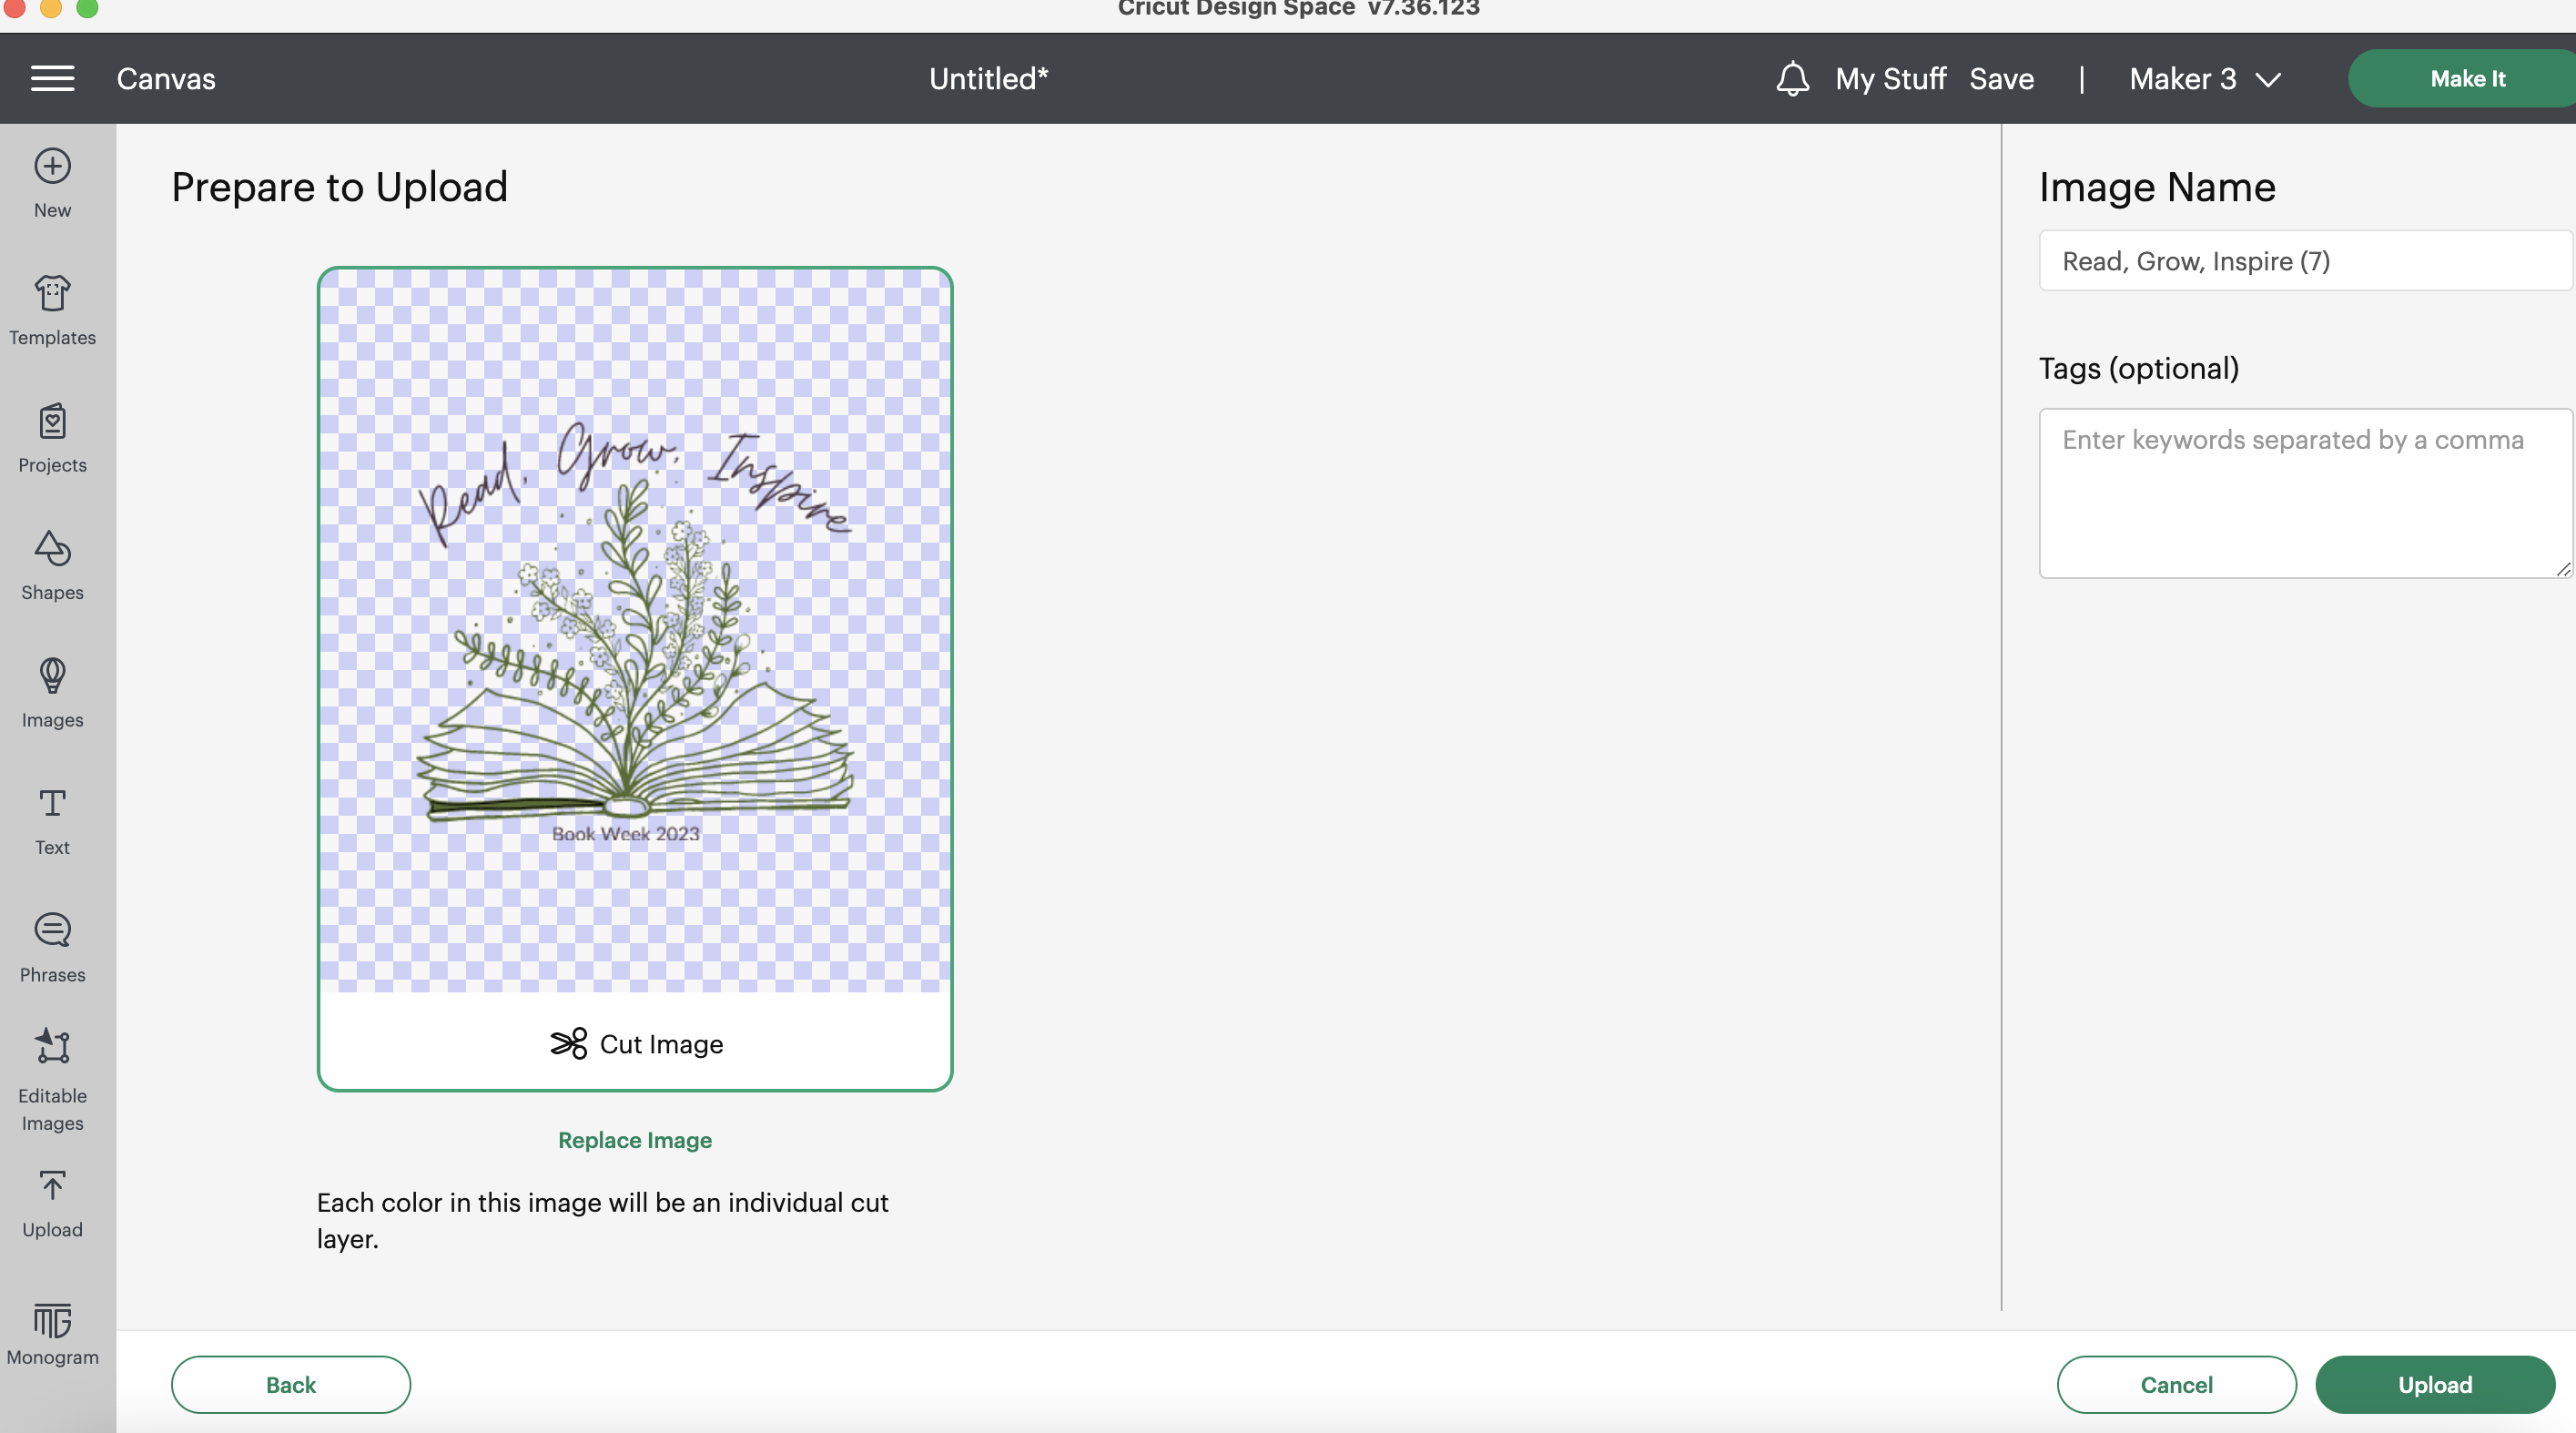
Select Upload from the left menu. Select and upload your SVG.

When uploading an SVG, you don’t get the two options like you usually do with uploading an image, so just select the Cut Image option, add a name and tags as you want and select Upload.
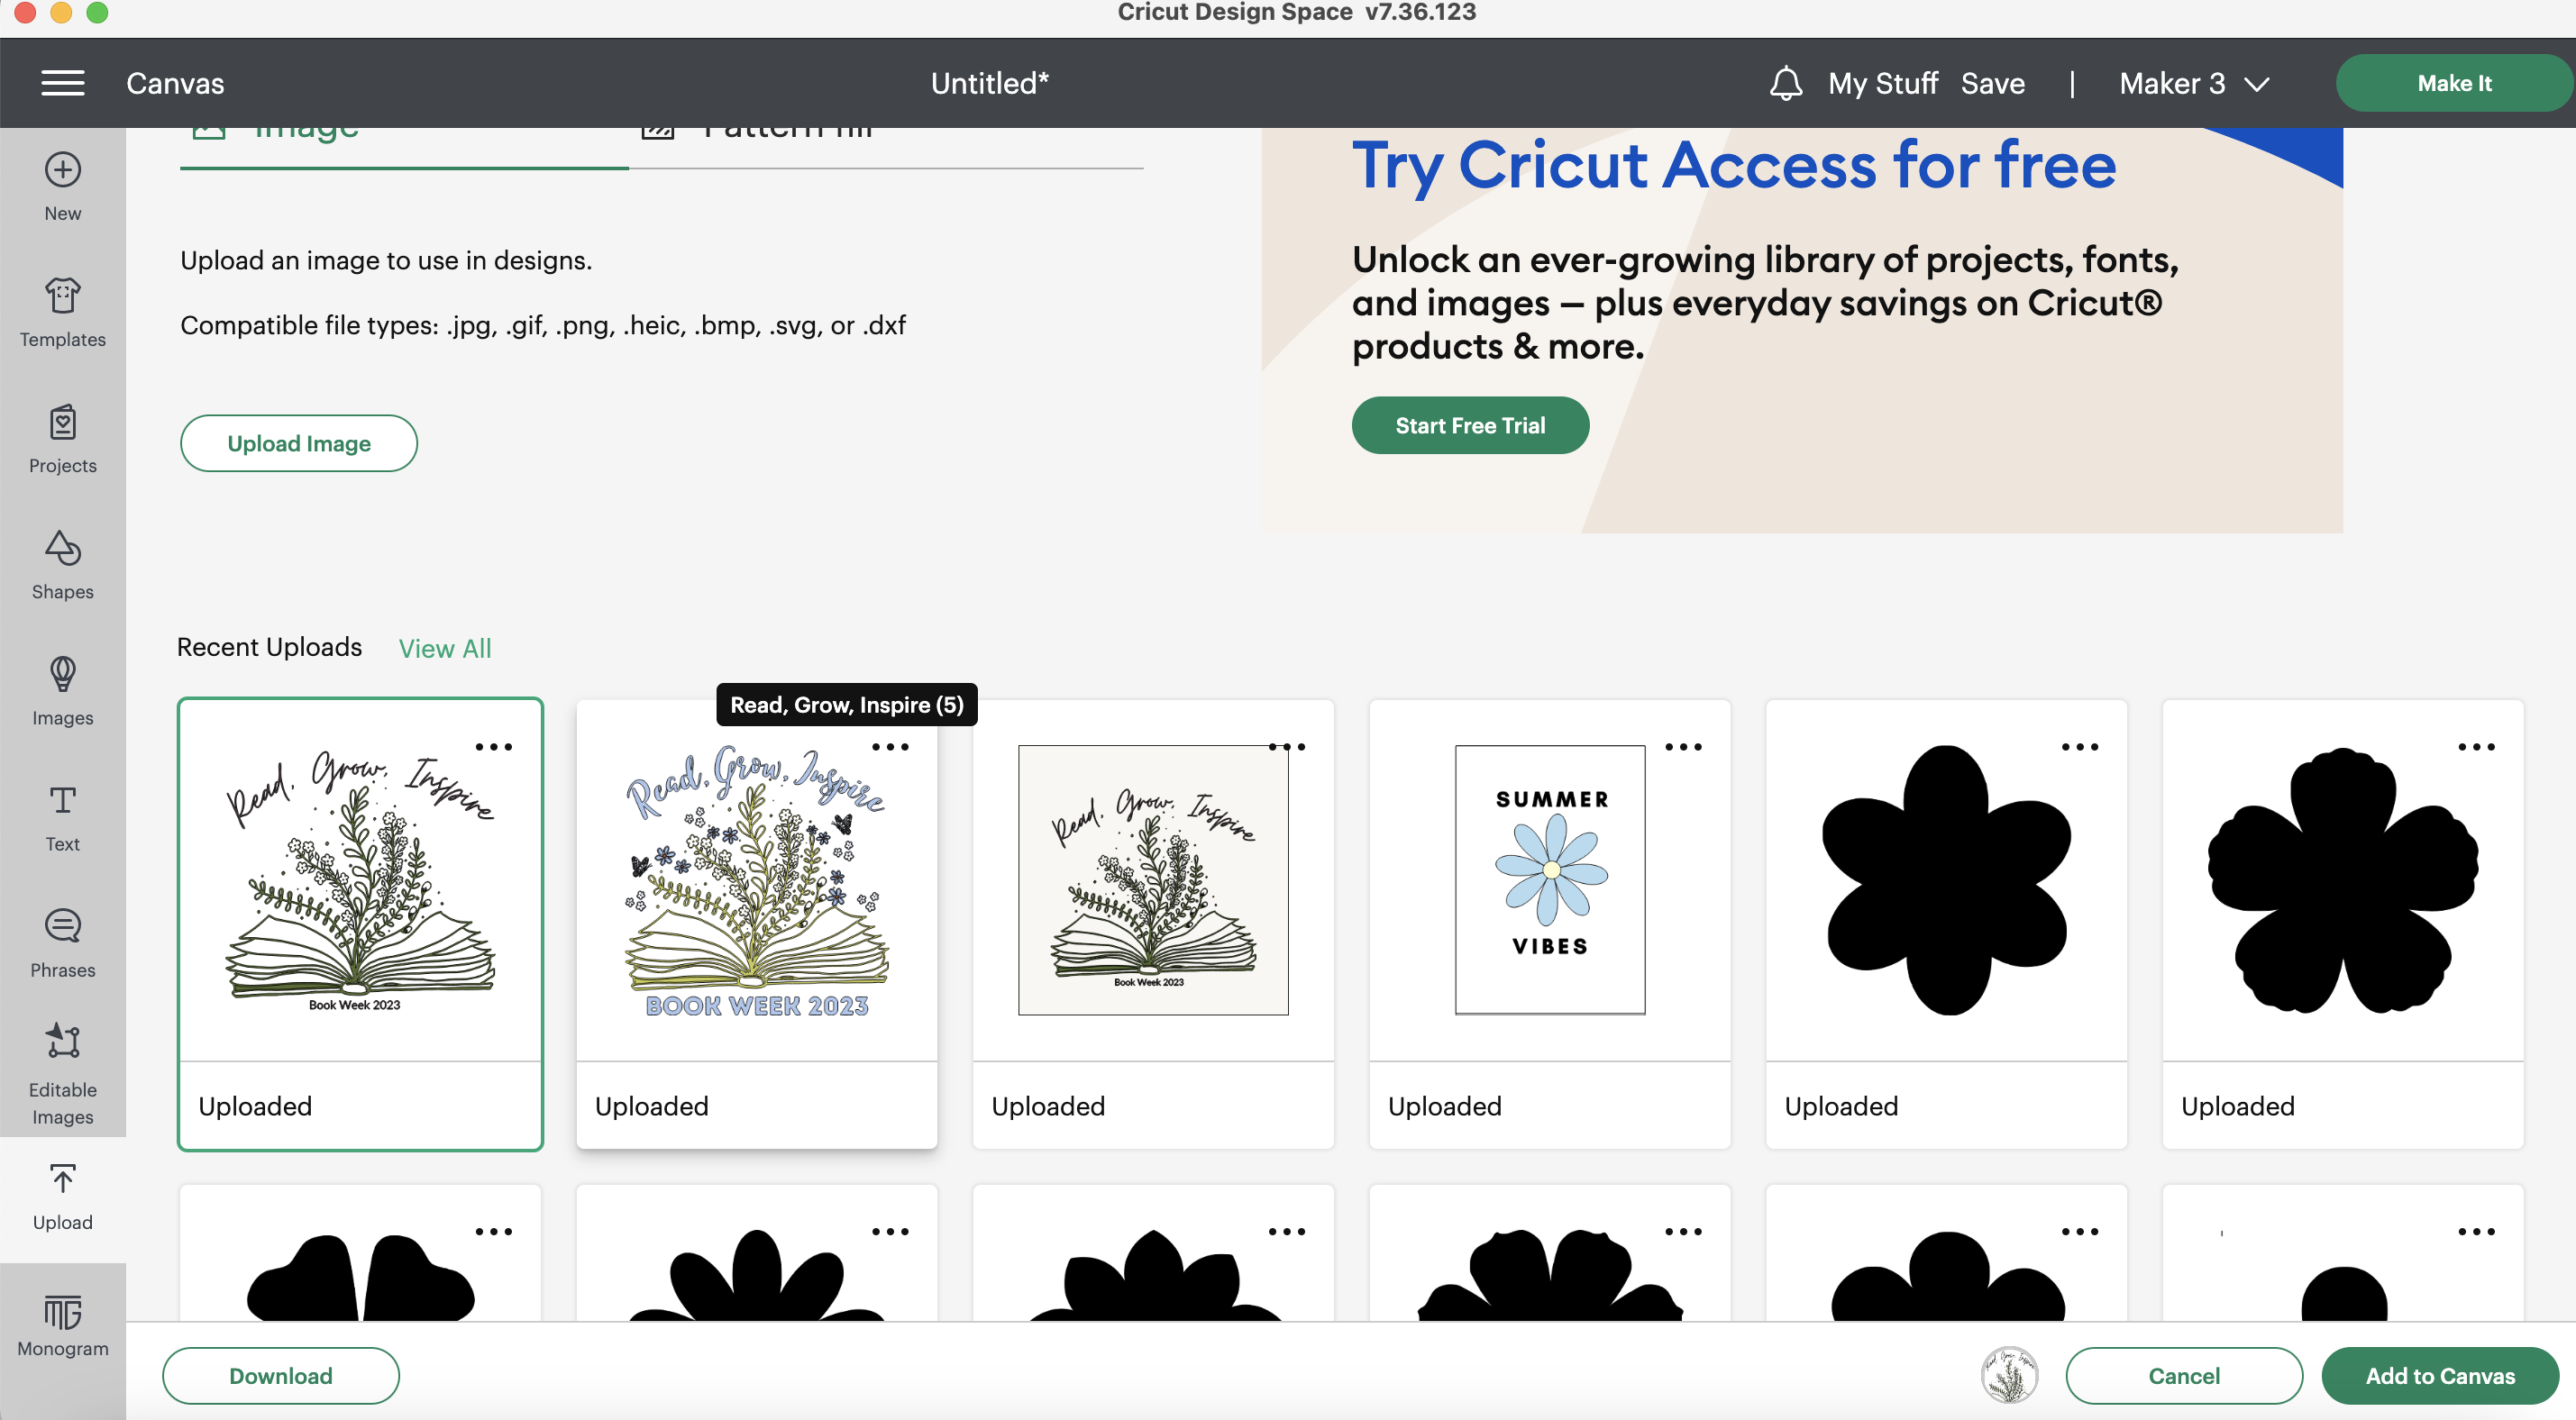
Select your image and Add to Canvas.
Now comes the editing part. An SVG will allow you to select each item of your design individually. For some designs, like the one from the IDTL network, it will be fairly easy to manipulate. For my design, it requires a bit of fiddling before you are ready to cut. Firstly, Ungroup your image (in my version of Cricut Design Space, the ungroup button is the first option under Layers in the right column – two squares overlapping with the four corner marks). That allows you to work with each item individually.
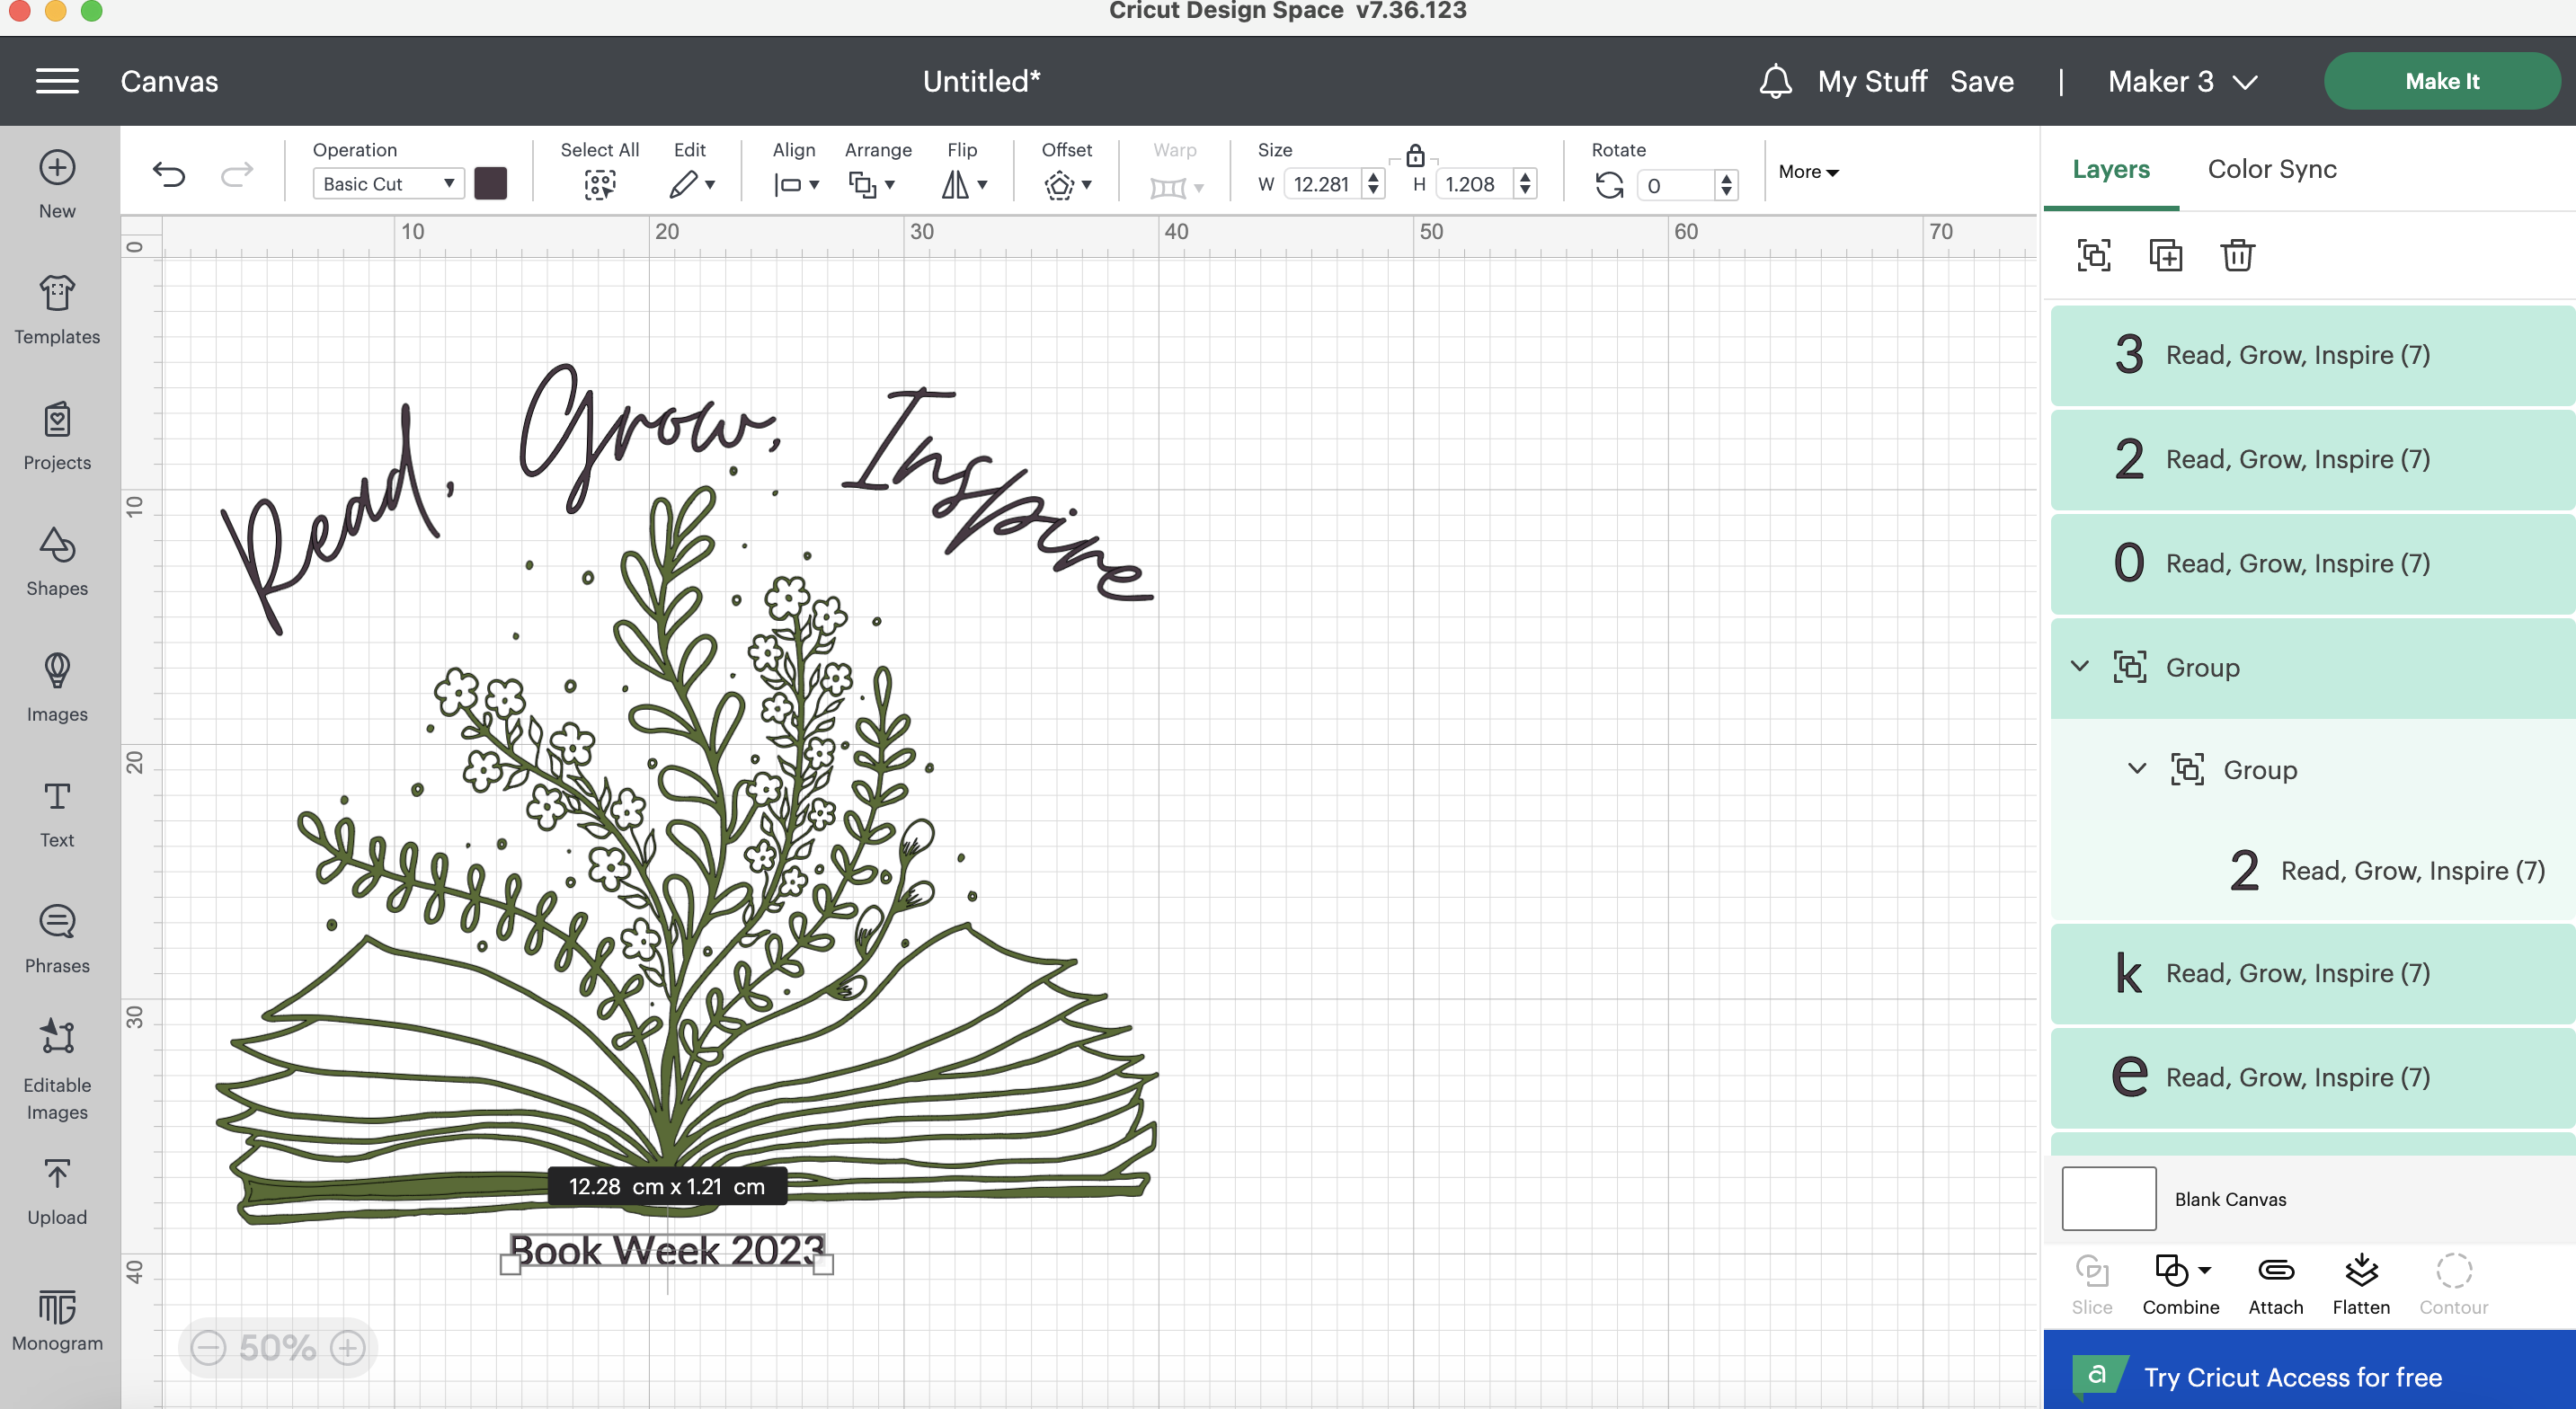
You want to Attach your letters or even Weld them (option under Combine), so that you are cutting whole words at a time and not trying to cut and place letters individually. Highlight and select the letters for each word or sentence and select Attach (paperclip button on the bottom right). For some fonts, you’ll also want to Weld them. This fuses them together and won’t cut letters individually if they overlap. Perfect if you have a cursive font. You don’t want your machine to cut the swirl of a fancy d out of the letter sitting next to it. I find that sometimes I need to do this in sections, moving other items out my way so I can click and drag over items, selecting the letters or items I want to attach together.

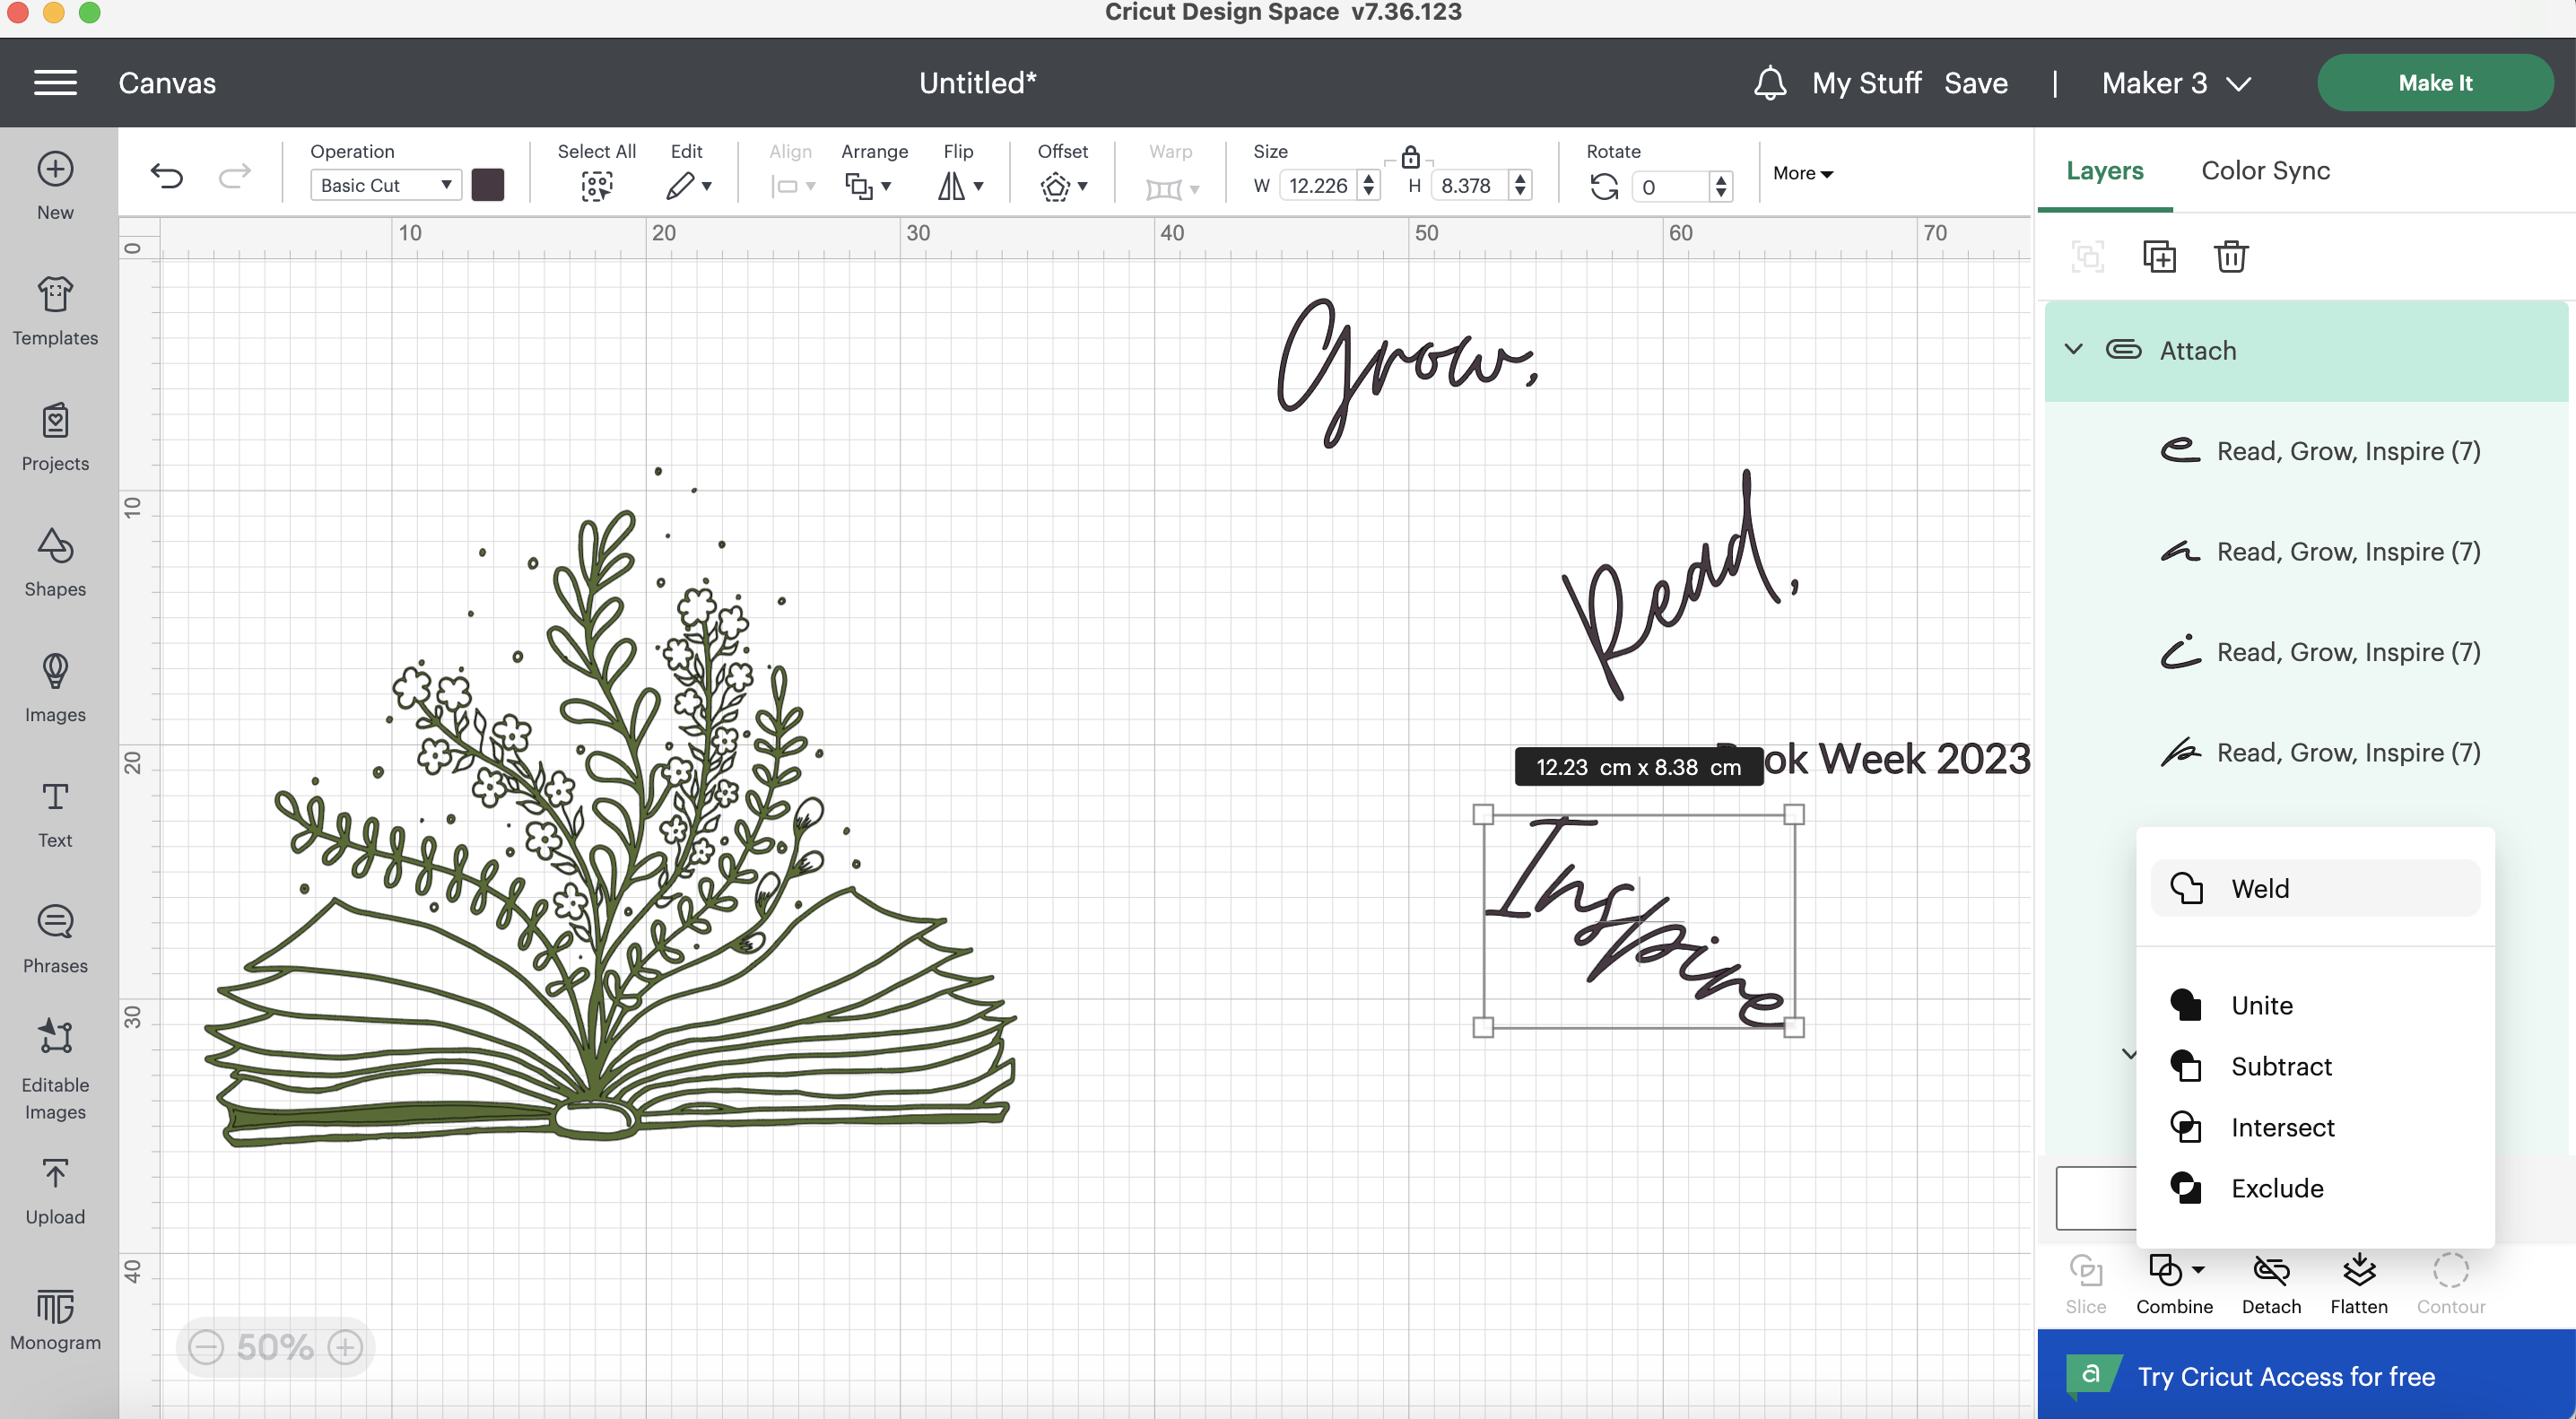
For my design, I welded the Read, Grow and Inspire words together. I attached the Book Week 2023 as one cut item. And I attached all the little circle cutouts around the design to the main book and flower design. You can now also change the size and colour of these items. If you want each letter a different colour, don’t Attach or Weld them, you’ll have to cut and place them individually.

Now, when you hit Make, you’ll see the design laid out on your mat as it will cut. If it doesn’t look right, go back and continue to edit, attach, deattach or weld as desired to make your cut something that will be easy to weed, place on your t-shirt and heat press. In the example below, I have some words attached and the Book Week 2023 all attached together. I could attach the Read, Grow, Inspire curve together, but that would take up a lot more material and I think I’ll be fine to place each word and get the curve right when I am pressing it.
Cutting Your Design

DON’T FORGET TO MIRROR YOUR DESIGN. It’s at this stage that you need to select Mirror under the mat design on the left of the screen. You always mirror when using HTV and heat pressing onto something, so your design isn’t back to front when you are done. It’s easy to forget.
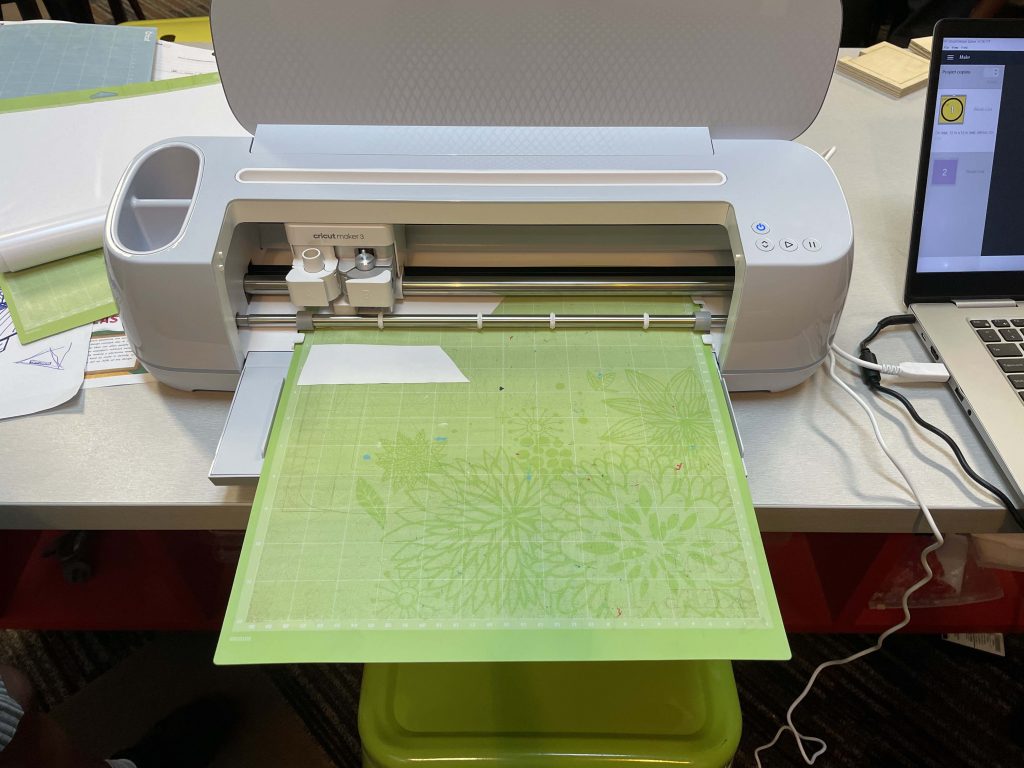
Then hit Continue. Set your material to Iron On
When loading your mat, remember it’s shinny side down for HTV. The shinny side is a thicker backing that you don’t want to cut into. So it goes shinny side down on your mat. Load your mat into the Cricut and hit the cut button.
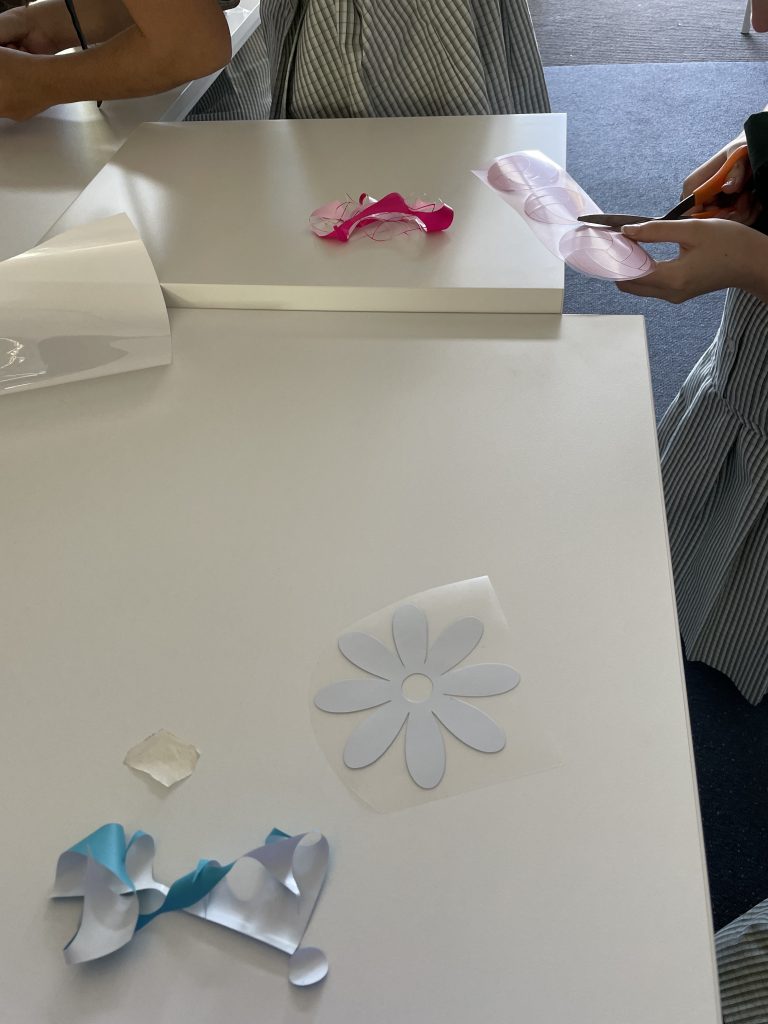
Weeding
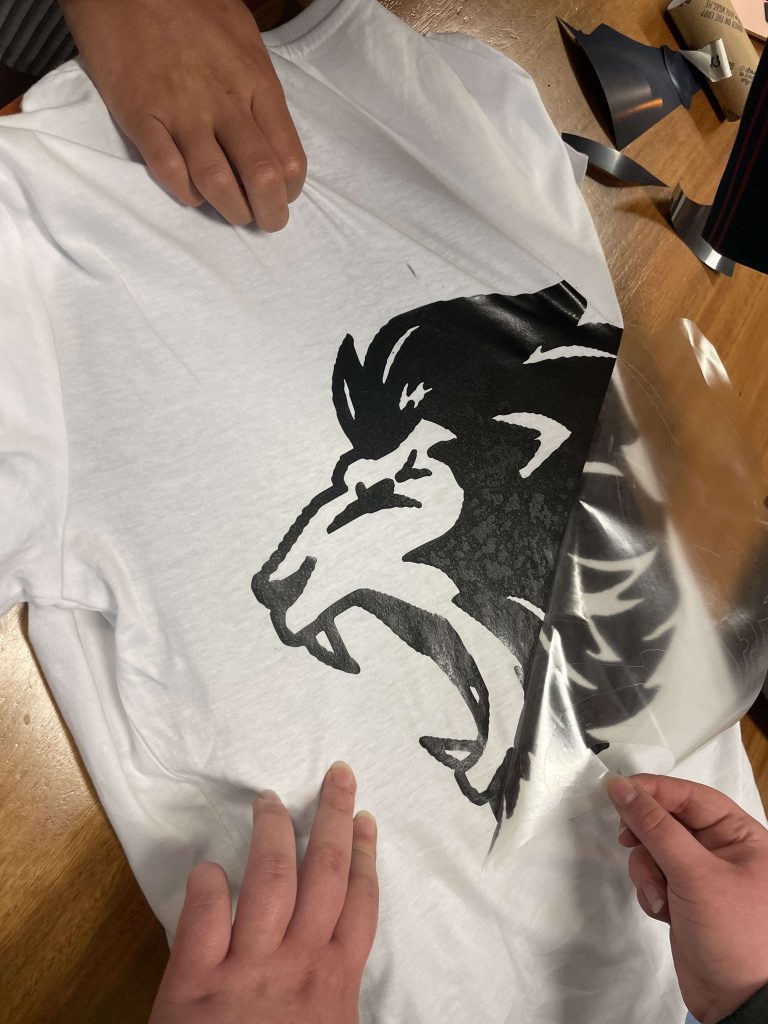
I love weeding, whether it’s weeding books from the library or weeding away the unwanted pieces on your cut Cricut design. You can use the pointed weeding tool but a pair of good tweezers with a strong point works as well. Remove from the matt side, leaving the shinny backing in one piece. Once all the unwanted pieces are removed, place your design shinny side up on your t-shirt. You can move it around to make sure you have it in the right position.
Pressing
Press your t-shirt before you apply your design to remove any wrinkles. Add you folded up towel or heat mat between the t-shirt layers. Add your design and press the design to the t-shirt. I use 170 celsius for 30 seconds. Check your material for heat temps. Some vinyls are cold peels, while others are hot, so check your material for instructions. Gently peel back the shinny backing and you are done. Press only one layer of vinyl at a time. Simply repeat with each layer of your design, make sure to use spare shinny backing or a heat-proof sheet to prevent any vinyl directly touching your heat press surface.
Let your design cool while flat and then you are done. Ready to wear and celebrate Book Week.

Leave a Reply