
Designing T-Shirts in the Library with the Cricut
A fun activity I’ve run this year was designing t-shirts with our Cricut machine. I’ve it with two class groups and will extend that to a lunchtime activity and after school activity once we have our new space next year.
I love our Library’s Cricut machine. I even convinced the Design Tech department that they needed one, so now I have two to use.
Designing t-shirts is so easy with the Cricut machines and the end products look great. I loved how quickly my students picked up the design, cut and heat process. Once they got the basics down, they quickly started attempting more detailed designs.
Getting started
You can add designs to a t-shirt in a number of ways with the Cricut. For this project, I used HTV, which is heat transfer vinyl. This process involves cutting chosen design from the HTV on the Cricut and then using heat to attach it to the t-shirt. It’s a fairly simple process, but there are a few tricks to getting it right.
Materials
You will need
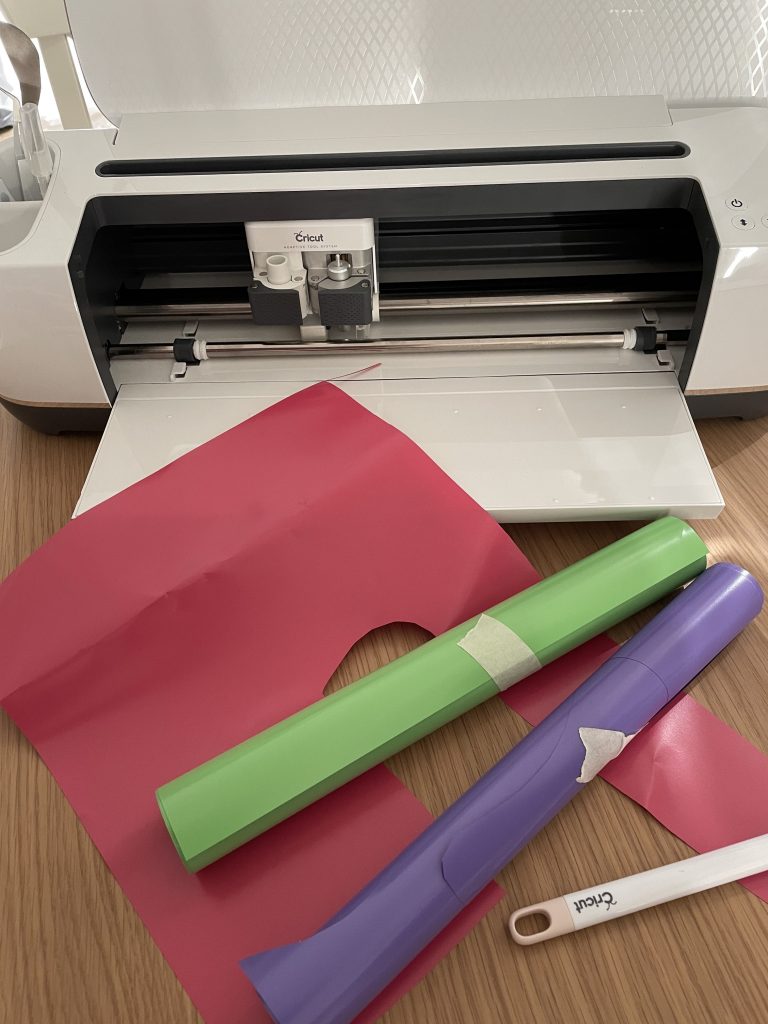
- Blank t-shirt
- HTV – heat transfer vinyl in the colours you need
- Cricut machine (any model)
- Laptop or iPad with Cricut Design Space (free software or app)
- Heat press or iron
- Heat pad or towel
- Cricut weeding tool or tweezers
I use Siser Easyweed HTV, which you can pick up for around $12 a metre. My favourite place to purchase this is Vinyl Loft, but there are plenty of other locations to buy. I never buy the Cricut brand materials – too expensive and the other materials on the market give you a much better quality and range of products.
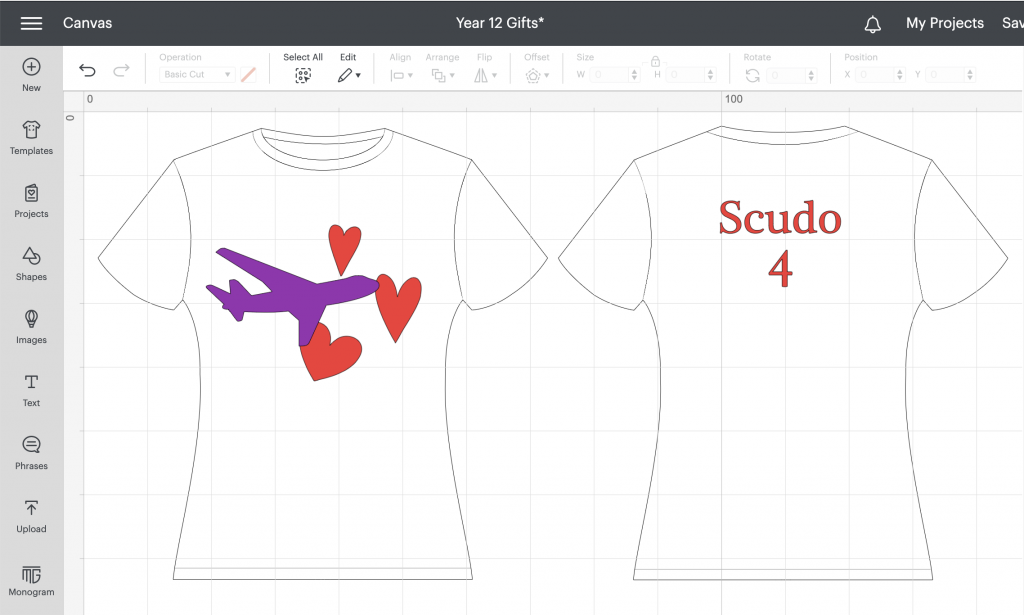
Step 1: Design
The first step is to open Cricut Design Space on a computer or iPad and create your t-shirt design. By adding a t-shirt template from the left menu, you can make sure your design is sized correctly. Add images, text or upload something custom. Get as creative as you like.
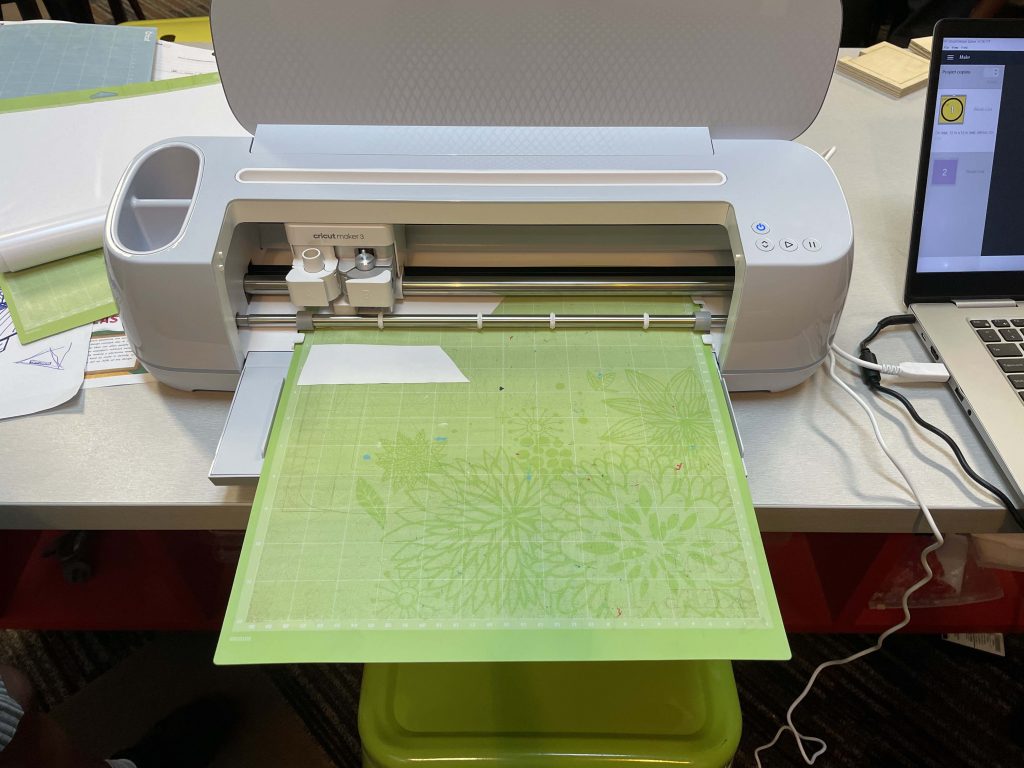
Step 2: Cut
Once your design is made, hit Make It. The key for cutting HTV is to mirror your design on your mats. This flips your design so that when you apply it to your t-shirt it won’t be back to front. Once you’ve selected mirror in your mat options, select Iron On from the materials list. You can also select glitter iron on or a range of other options if you find yourself using these. When you apply your HTV to your mat, ensure it is shiny side down.
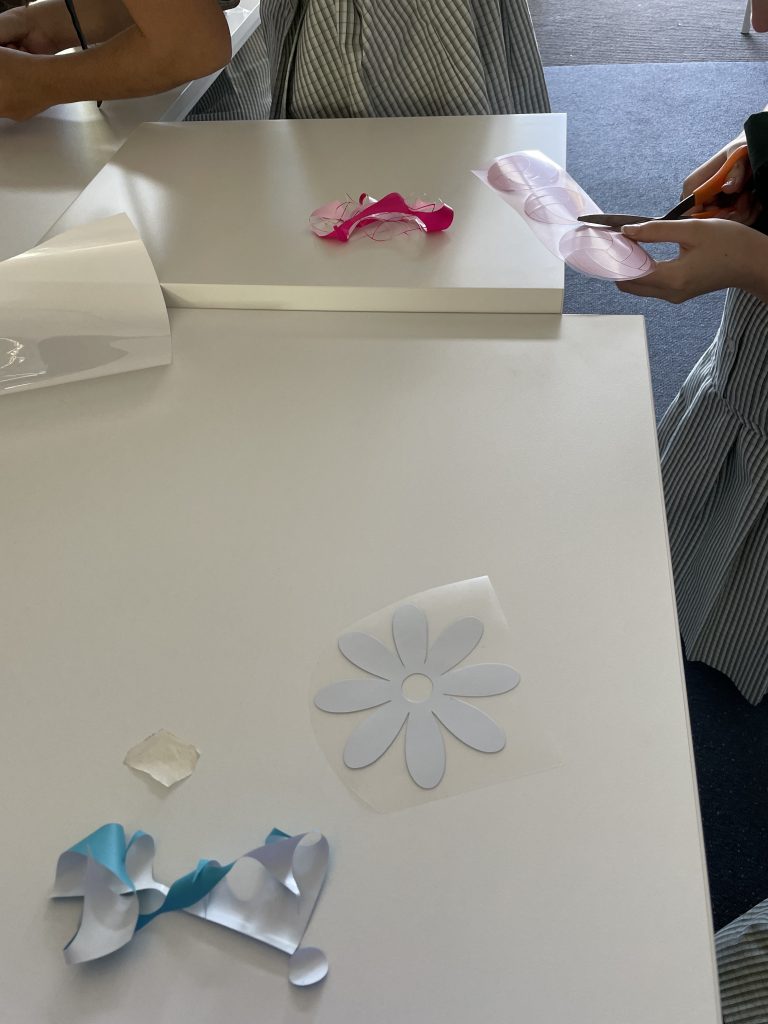
Step 3: Weed
Remove your design from the mat. Still with the shiny side down, use your weeding tool (a sharp little pick-ax looking thing) to stab into the area around your design to lift it and peel it off the clear backing. Remove anything you don’t want to apply to your t-shirt leaving just your final design. If you cut more than one piece of your design on one sheet, cut out each piece, leaving enough clear backing around each piece.
Step 4: Heat press
Place your designs shiny side up on your t-shirt. You can lay them all out together, but if layering designs, you need to heat press one layer at a time.
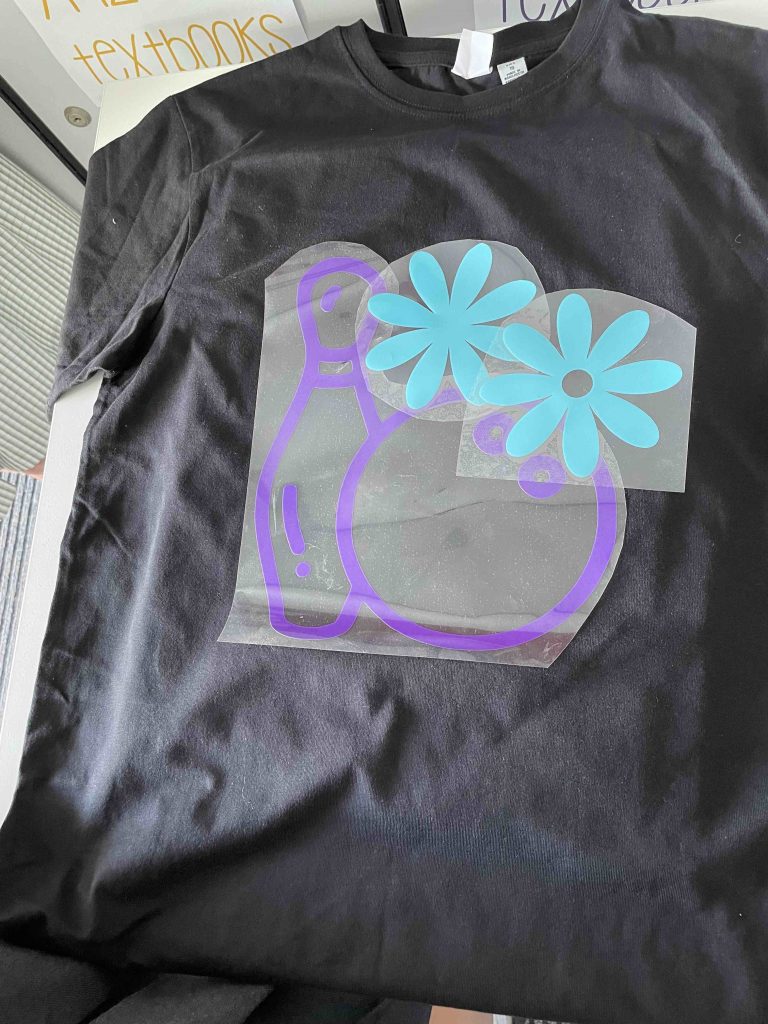
Each brand of HTV has different heat required. If you have a Cricut Heat Press, it’s super easy to select your temperature and set the right time. You can also use an iron without any water to reduce steam.

Make sure you keep the clear backing between your HTV and your heat press plate or use a heat proof sheet. You also need to use a heat pad between the t-shirt layers or use a folded towel.
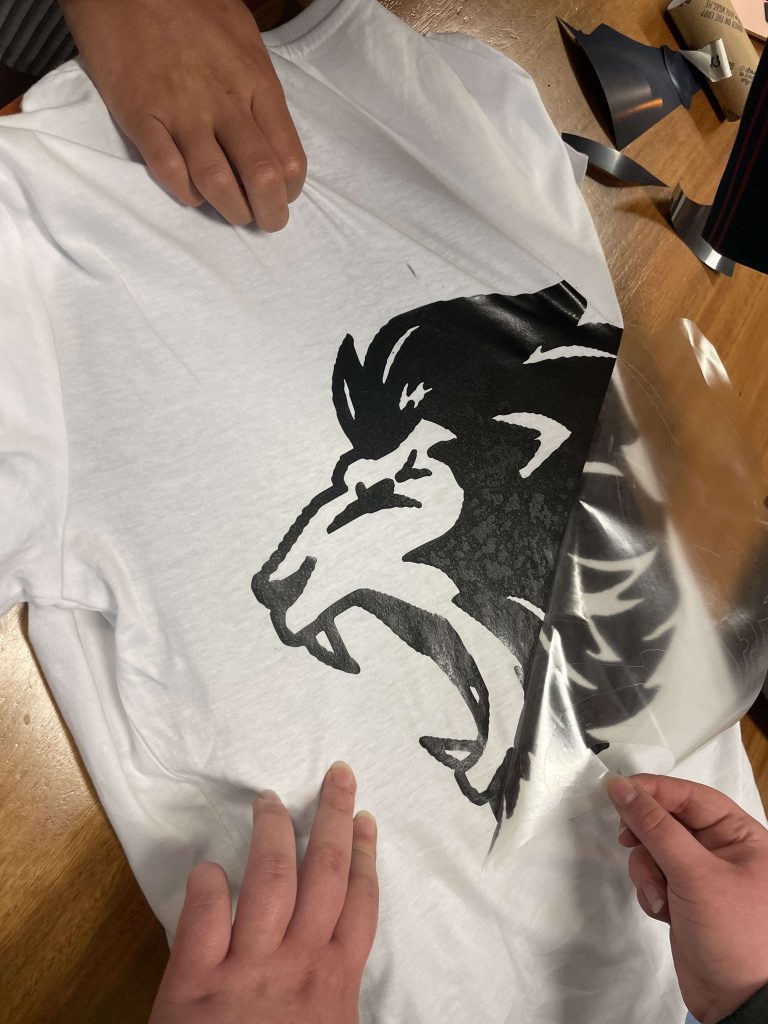
Step 5: Peel
Once you’ve pressed your HTV for the required time (30 seconds is how long I press usually), check if your HTV brand allows hot or cold peeling. If hot, just mind your fingers as it can be warm. Peel the backing off. If you get any resistance, just put the backing back down and press again with the heat.
And that’s it. T-shirt done. You can get as creative as you like, layer colours, add glitter, add details to sleeves or just get creative. If you are careful with your HTV, it can also be a really cost-effective project to do with classes or as a lunchtime activity.

Leave a Reply